
I have had a meditative week so far, and transformed four chests of drawers, and an extra set of eight drawer fronts. The chests were all this lovely shade of orangey pine but are no longer - thank goodness!
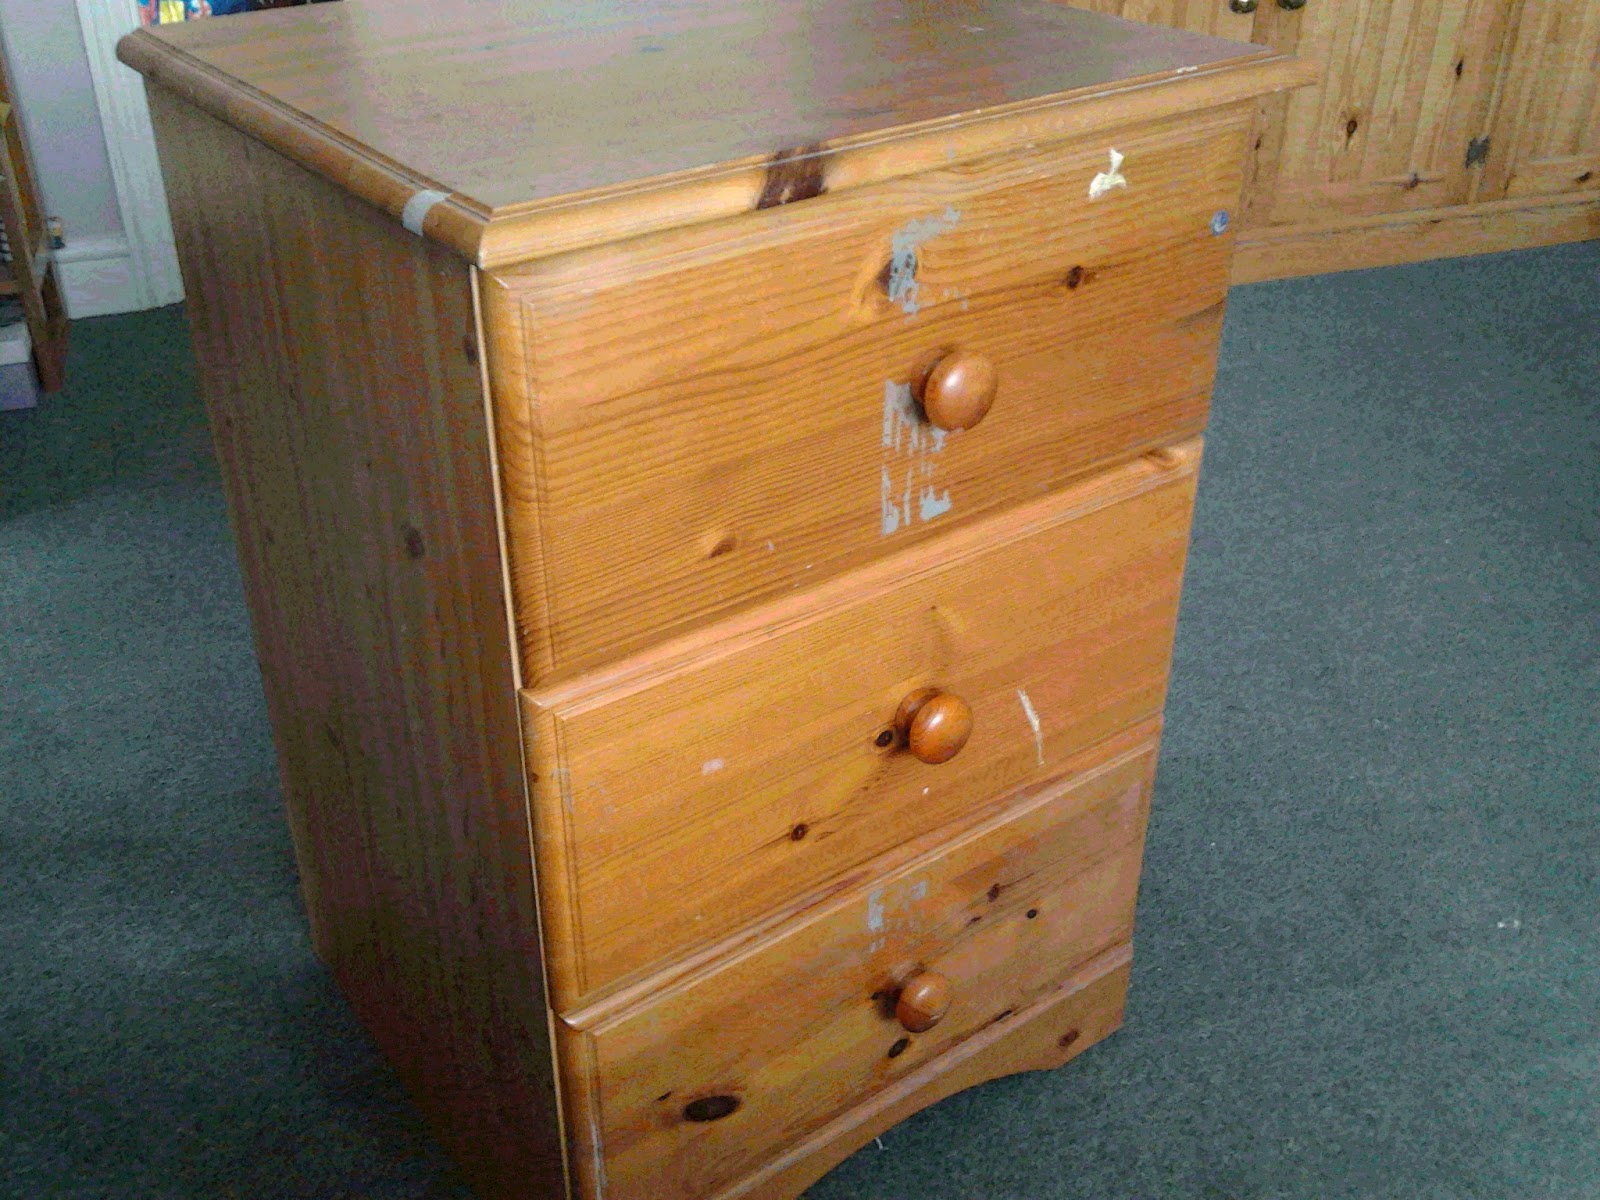
The chests are all over 15 years old, and well travelled. This particular unit [below] had old parcel tape still stuck to it in places from where the FH taped the drawers shut when we moved here 11 years ago! I did manage to get it off when I sanded the drawer fronts, which was a relief.
I used chalk paint. I had planned to use Elaine's recipe but hadn't got all her suggested ingredients. I had to substitute plaster of Paris for the tile grout, so I used this recipe. It's brilliant what you can find on Pinterest....The recipe I used was usable for hours, and I even left one pot of it overnight [about 8 hours] with some clingfilm over it, and it was fine in the morning.

This is what it looked like after only one coat - I ended up putting five or six coats on each piece, waiting for them to dry in between. It built up to a lovely finish.

And then I had to wax them. Two layers went on, buffed with lots of elbow grease in between layers. Speaking to the FH's son, he thought one layer would be fine, put on with a buffing brush on a drill, but when I pointed out that there was no buffing brush, just me and a soft cloth, he agreed that two would be fine. I used Briwax, from a trader on Amazon.

And this is what one of the finished products looks like - ready for the EF's girls' room. They have one each like this. I left the knobs as plain wood, and I love them. So much so that I have done a five drawer chest for my room exactly the same! The YFG has a three drawer chest which is wider than these, but the knobs on hers have been painted powder blue to complement her room.

This is how I managed to paint the knobs - using an old plastic basket to poke them through on their screws and holding them as little as possible.
And the total cost......about £8 for the wax.
Magnolia paint, very old, about three inches in the bottom of a pot, left in the workshop - as good as free
Plaster of Paris, left over from a kids' model making kit and languishing in the shed - no idea how much it was when it was new.....but it was not going to be used for anything else.
Sandpaper - used an old sanding belt that the FH had had in the workshop - he had a collection of them in a drawer, and this was the scruffiest of them all and the least likely to be used by his son, I thought, so I tore it up and used it.
I am chuffed that I have reworked four pieces of furniture and saved myself some pennies in the process as I needed to do something to make the furniture acceptable for visitors to use. The YFG and I have both got "new to us" furniture in the bargain too.


4 comments:
That looks amazing - and I shall shamelessly steal some of the ideas (though probably won't be able to be so thrifty!) WS xxx
Brilliant! I shall look up and use the recipe for the paint when we do,our next piece. You've done a great job and what a good idea for painting the knobs. Thanks for the pictures. X
That looks very nice. You've done a good job there.
Wow! Well done you, it is amazing what this type of paint can cover up1
Post a Comment